For Windows systems a pre-built executable package is available for download. If you choose to use the pre-built executable on Windows, proceed to Connecting YKUR board section. For Linux or if you choose to build from source on Windows, follow the steps bellow.
Download the control utility source code from ykur product page. With it you can control YKUR board from the command line of Linux and Windows systems. The latest development version is made available in ykurcmd GitHub repository which may have new functionality not yet released in the product page.
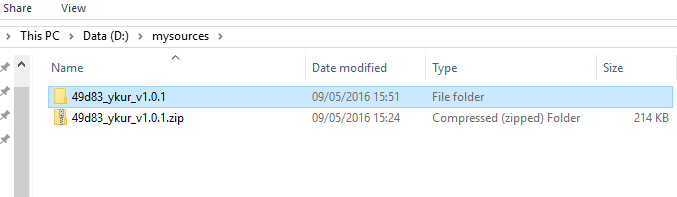
After downloading the source code package extract to a folder of your choosing. In our example we extract it to C:\mysources folder.
In C:\ykurcmd\inc folder we provide a version of the hidapi shared libraries. Nonetheless we recommend the download and build of the hidapi in your system to ensure it's updated. The hidapi library can be obtained here.
Windows YKUR utility setup
If you downloaded and built the hidapi library on your system, overwrite the library files which are in the ykur project. Overwrite the following files in C:\ykurcmd\inc:
- hidapi.dll
- hidapi.exp
- hidapi.lib
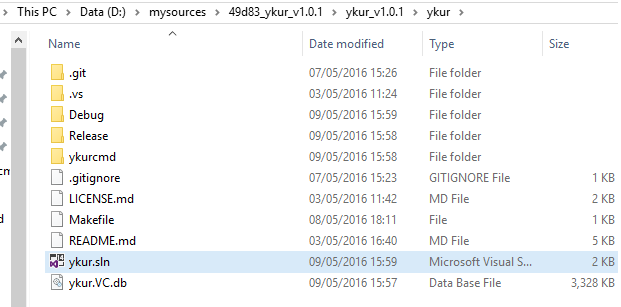
Open ykurcmd.sln solution file with Microsoft Visual Studio to build the ykurcmd application. A free version of Visual Studio (Community) is available from Microsoft.
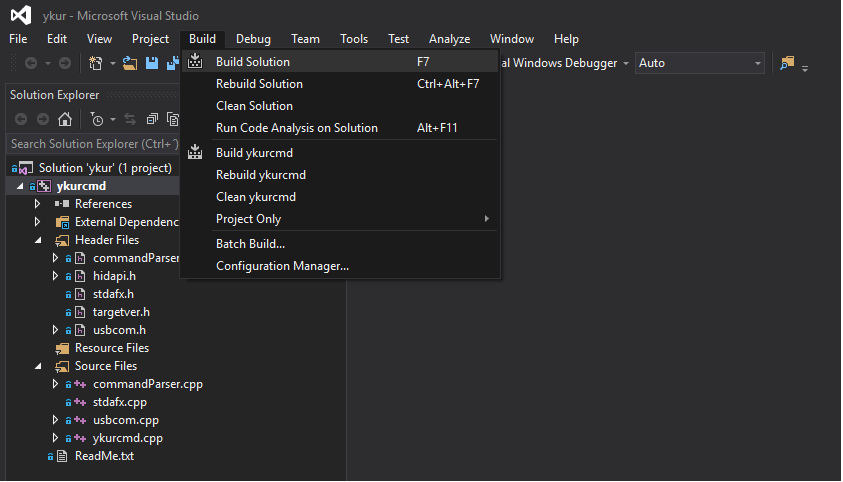
Build the solution with Visual Studio.
Note: If errors occur during the build process it may be the case that the hidapi library should be built for your system. To do so the sources and build instructions can be found here.
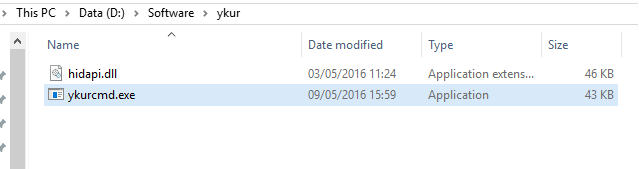
Now you can move the executable to a folder of your choice. The executable requires the hidapi.dll in run time so it must installed in the system or in the same folder than the ykurcmd.exe executable file.
Test the executable opening the command line console, navigating to the folder containing the ykurcmd.exe executable file and running the following command: ykurcmd.exe -h

Linux YKUR utility setup
Prerequisites
To build the application, and run it, libusb-1.0 and libusb-1.0-dev libraries must be installed in you system. For example, in Debian based systems do the following in a terminal.
$
sudo apt-get install libusb-1.0-0-dev
This installed the development files. Now install the binary library.
$
sudo apt-get install libusb-1.0-0
Building and installing the ykurcmd
Download the source code package from YKUR product page or from Yepkit/ykurcmd GitHub repository. Extract the content of the source code archive to a folder of your choosing.
In the root of the source code structure you will find the following two scripts:
- build.sh
- install.sh
As the name indicates one builds the application and the other installs it.
To build the application run:
$
sudo ./build.sh
Please note that this script downloads and builds the hidapi library, so an Internet connection is required. For more detail on the hidapi library please follow this link.
There may be some dependencies that were not satisfied and cause the build process to fail. If that was the case, install the missing dependencies and re-run the build.sh script.
Finally install the hidapi shared libraries and the ykushcmd command by running the following script.
$
sudo ./install.sh


